
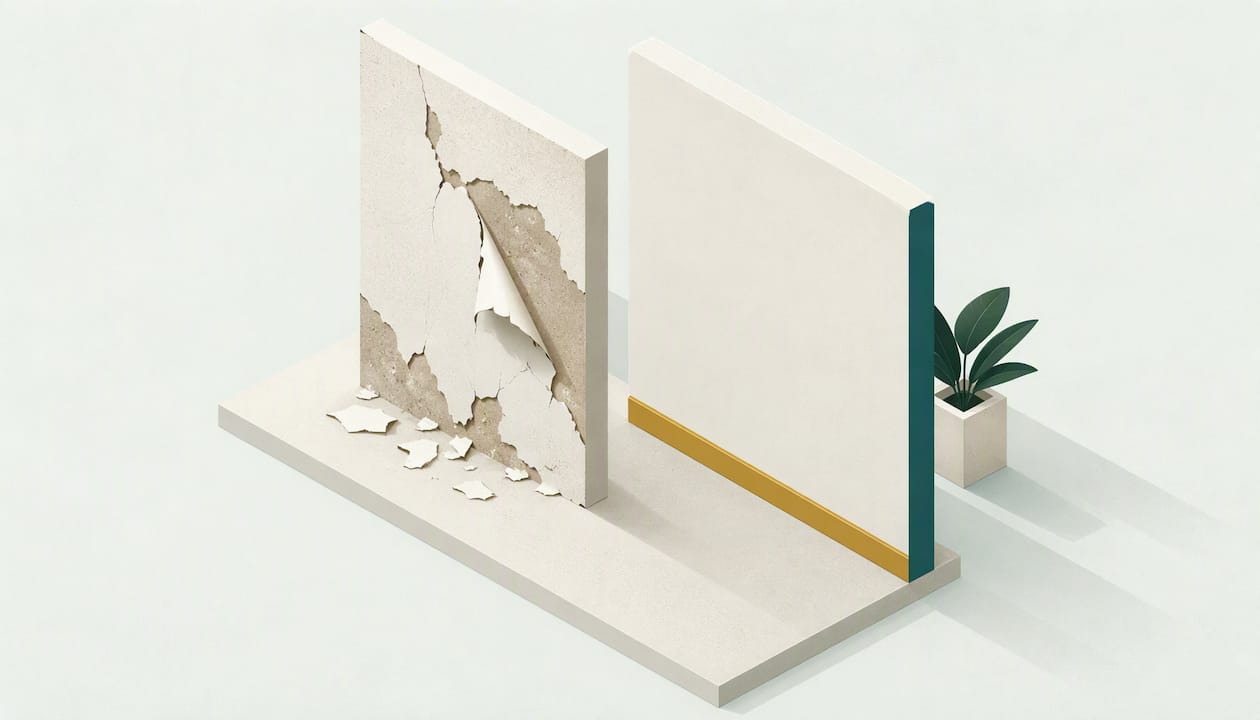
Paint peels because it has lost its grip on the surface underneath, and the usual reasons are moisture, poor prep, dirt or the wrong paint. The fix is the same every time: find the cause, scrape off everything loose, sand the edges smooth, prime bare spots, then repaint. Skip the first step and the new paint will fail like the old one. This guide shows you how to read the clues on your own wall, repair it step by step, and know when to stop and call a pro.
TL;DR
- Peeling is a loss of adhesion. The most common culprit is moisture behind the paint, followed by dirty or glossy surfaces, thick coats and mismatched paint.
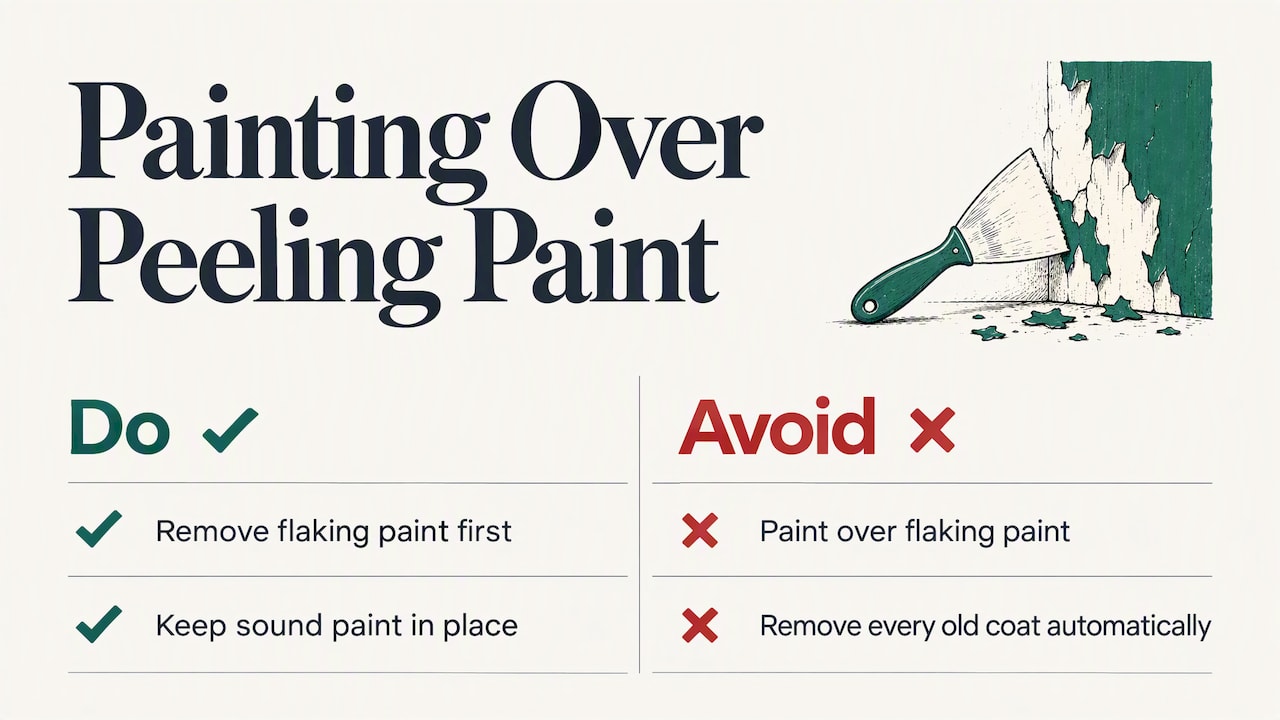
- Do not paint over flaking paint. Remove it first, or the new coat will peel too.
- The repair order: stop the moisture, scrape, sand, clean, fill, prime, repaint.
- If your home was built before 1978, treat the paint as possibly lead-based and do not dry-scrape or sand it until you have checked.
- Widespread peeling, black spots or a musty smell point to a damp problem that needs fixing at the source, not a paint job.
Table of Contents
- What peeling paint actually is
- Why is paint peeling off your wall?
- A quick diagnosis table
- Before you scrape: check for lead
- Tools and materials
- How to fix peeling paint, step by step
- Can you paint over peeling paint?
- Perspective
- Keeping paint from peeling again
- When to call a professional
- Get more practical fixes from Fix It Daily
- FAQ
- Sources
What peeling paint actually is
Peeling is the loss of adhesion between a coating and the surface beneath it, or between one coat and an earlier coat. It can involve some of the layers or all of them. That detail matters, because where the paint lets go tells you why it let go.
You will usually see one of three patterns:
- Blisters first, then cracks. Moisture or heat pushes the film up from below. Peeling to bare wood is most often caused by excess moisture behind the paint, and it generally starts as blisters before the film cracks and lifts.
- Only the top coat lifts off. The finish coat never bonded to the coat below, often because the older surface was dirty, glossy or chalky.
- Curling flakes or sheets. Thick, uneven application or incompatible paint types can cause the film to crack and flake.
Why is paint peeling off your wall?
Work through the likely causes from most to least common. You can often settle it in ten minutes with a flashlight and a flat-bladed scraper.
Moisture behind the paint
Water is the first suspect. Moisture can get in through uncaulked joints, roof or wall leaks, or escape from indoors through the wall. On the outside of a house, look for faulty flashing, leaking gutters, defective roof shingles, cracks, holes and worn caulking. The National Park Service lists these along with inadequate ventilation as the usual sources.
Indoors, the likely spots are the ones where steam and splashes collect. Purdue Extension points to roof valleys, corners, bathrooms, laundry rooms, kitchens and other high-humidity areas where water vapor and rain can get into walls.
Clues that it is a damp problem and not just a paint problem:
- Peeling is concentrated on one wall, below a window, near a ceiling corner or around a bathroom.
- The wall feels cool or slightly damp, or smells musty.
- You see black spots or visibly different wall color. A UK home-improvement guide lists peeling paint, a musty smell, discolored patches and black spots as warning signs of damp.
- A moisture meter reads high. The same guide says a reading above 20% warrants further investigation, while 12 to 15% is described as ideal.
If a pipe, appliance or roof is leaking, fix that first. A leaking water heater is a classic example: the paint on the nearby wall is a symptom, and new paint will not hold until the leak is gone.
Poor surface prep
Paint needs a clean, dull, dry surface to grip. A Sherwin-Williams expert quoted by Martha Stewart suggests checking whether the wall was clean, dull rather than glossy, and fully dry before painting. Grease in kitchens, soap film in bathrooms, dust and old gloss all act like a release layer between the old paint and the new.
The wrong paint for the room
Incompatible paint types can fail, and so can a paint that does not suit the room. The same Martha Stewart article quotes a Valspar expert who says paint has to match the surface and the environment, for example humidity-resistant paint in bathrooms. Oil-based paint over a wet surface and low-quality paint are also on one paint maker’s list of causes.
Heat or moisture? Look at how many layers lifted
A quick way to tell the two apart when you see blisters: if only the newest coat is blistered, heat is likely. If several coats have lifted and bare surface shows, moisture is the likelier cause. This is useful on south-facing exterior walls that bake in the afternoon sun.
Thick or uneven coats
Applying paint too thickly or unevenly can lead to cracking, and cracks become flakes. If the peeling is patchy with no sign of damp, and your last paint job was a heavy one-coat effort, this is a strong candidate.
A quick diagnosis table
| What you see | Most likely cause | What to do first |
|---|---|---|
| Blisters, then peeling to bare wood or plaster, musty smell | Moisture behind the wall | Find and stop the water source, let the wall dry |
| Peeling in bathroom or kitchen, near ceiling | Steam and poor ventilation | Add or run an exhaust fan, use humidity-resistant paint |
| Only the top coat lifts, undercoat is intact | Dirty, glossy or chalky surface below | Clean, sand to dull the sheen, prime |
| Peeling after a heat wave on a sunny exterior wall, only the newest coat | Heat blistering | Scrape, sand, repaint in cooler, shaded conditions |
| Cracking and curling flakes across the wall | Thick coats or incompatible paints | Remove all loose paint, prime, apply thin coats |
Before you scrape: check for lead
This step comes before any sanding. If your house was built before 1978, the paint may contain lead. The EPA says many homes built before 1978 have lead-based paint, and lead from paint chips and dust can be a serious health hazard. Peeling paint in an older home is exactly the situation where chips and dust get created.
What to do:
- Test first. The EPA recognizes certain test kits, but notes they are meant to be used by certified renovators. A paint chip sent to an accredited lab or an XRF test by a professional are the other routes it lists.
- If it is lead-based, do not sand or dry-scrape it yourself. The EPA’s pamphlet advises homeowners not to try to remove lead-based paint on their own, and says to hire a certified professional.
- If you rent, your landlord must give you the EPA pamphlet and disclose known lead hazards for pre-1978 housing. Report peeling paint to them in writing rather than sanding it yourself.
- If you have young children or a pregnant household member, keep them out of the room and call a lead-certified contractor before touching the wall.
For a newer home, you can go ahead, but the protective gear below still applies.
Tools and materials
You do not need much. Sherwin-Williams lists a putty knife or paint scraper, sandpaper, filler, primer and paint. Lowe’s expands the list with fine sandpaper, a brush, a roller, goggles, gloves and a dust mask, plus a cloth, mild soap, spackling paste or joint compound.
A practical shopping list:
- Flexible putty knife or paint scraper
- 100-grit and 220-grit sandpaper or a sanding block
- Spackle or joint compound for filling
- Stain-blocking or bonding primer suited to your surface
- Interior or exterior paint matched to the room, with a brush and a roller
- Damp rag, mild soap, bucket
- Safety glasses, gloves, and a respirator or properly rated dust mask
- Drop cloths and a vacuum with a brush attachment for cleanup
How to fix peeling paint, step by step
1. Find and stop the moisture
The National Park Service is blunt on this: repainting before correcting moisture is futile, because the new paint will simply fail. Locate the source, fix it, and let the surface dry thoroughly. That might mean sealing a gap, clearing a gutter, repairing a roof flashing or running a bathroom fan. If you cannot find the source, or the wall stays damp, call a plumber, roofer or building pro before going further.
2. Suit up and contain the mess
Wear safety glasses, protective clothing and a dust mask or respirator when you remove old paint. Sherwin-Williams also stresses proper containment and cleanup. Lay drop cloths, close vents, and keep pets and kids out.
3. Scrape off everything loose
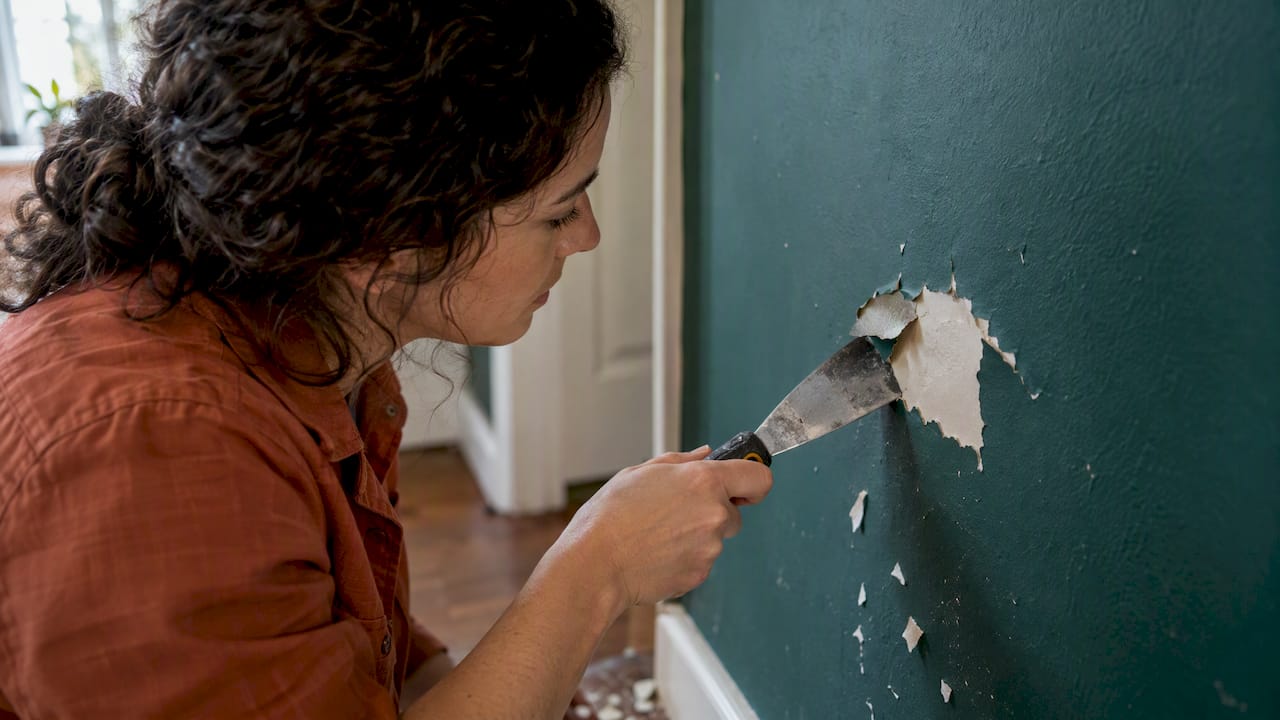
Use a putty knife or scraper to remove all the paint that lifts. Keep going until you reach paint that will not budge. Then sand the edges so they blend into the remaining paint. Run your hand over the area: you should feel no ridge where the old paint stops.
4. Sand and wipe
Behr’s instructions call for scraping or sanding with 100-grit sandpaper to remove loose paint, then wiping dust away with a damp rag. Let the wall dry fully afterward.
5. Clean the surface
Wash painted surfaces to remove dirt, grease, soap and oil buildup. Warm water and mild soap is enough for most walls. Rinse and let it dry completely.
6. Fill and smooth
Where paint took chunks of plaster or drywall with it, apply patching material with a putty knife and let it dry. Behr then says to smooth it with 220-grit sandpaper and remove the final dust. Lowe’s recommends spackling paste or joint compound for rough spots.
7. Prime
Prime every bare area before the topcoat. Priming prevents an uneven finish where patched spots would otherwise soak up paint differently. Choose a primer made for your surface and room, such as a moisture-tolerant one in a bathroom.
8. Repaint in thin coats
Apply paint in even, thin coats and let each dry as the can directs. Thick coats can crack. Paint a little past the repair edges so the patch blends in. On a big repair, repaint the whole wall from corner to corner to avoid visible patches.
Can you paint over peeling paint?
No. Sherwin-Williams says to remove flaking paint first, because painting over it leads to poor adhesion and more peeling. Fresh paint is only as strong as the layer it sticks to.
That does not mean every old coat has to come off. A New Zealand university building bulletin notes that modern paints do not keep hardening, so existing paint need not be removed unless its condition requires it. Sound paint stays; loose paint goes.
The tape test
Press adhesive tape firmly over a clean patch of paint and pull it away. If paint flakes come off with it, that paint should be removed. Do this around the edges of any peeled area before you repaint, to find out how far the failure extends.
Purdue Extension describes a related test for chalky exterior paint: clean and repaint a small area, wait at least two days, then snap off an adhesive bandage. If paint comes away on the bandage, the old surface is too chalky and needs more cleaning or an oil-based primer.
Perspective
Most peeling paint calls come down to one mistake: people treat the paint as the problem. It almost never is. The paint is the messenger, and it is telling you there is water, grime or a bad bond underneath.
That is how we approach every repair at Fix It Daily. Work out the root cause, try the safe first fix yourself, and know where your limits are. For peeling paint, the first fix is a flashlight and a scraper, not a can of paint. If the wall is damp, the leak comes first. If the house is old, the lead question comes first. If the damage is wide and the wall keeps getting wet, that is when a qualified professional earns their fee.
A wall repaired in the right order costs a few tools and an afternoon. A wall painted over three times costs more every time you redo it.
Nikki
Keeping paint from peeling again
Prevention is mostly about water and prep:
- Fix water sources and prep as directed. Sherwin-Williams advises repairing water sources, preparing the surface as directed for the coating, and testing adhesion around peeled areas before repainting.
- Ventilate wet rooms. For moisture-driven peeling, one paint maker suggests vents or exhaust fans in kitchens, laundry rooms and bathrooms. Run the bathroom fan during and after showers.
- Deal with moisture rising through masonry. The same guide recommends waterproofing the foundation with a specially designed coating. That is a job to scope with a contractor.
- Repaint on time. Repaint when paint turns chalky or shows peeling, flaking, blistering or cracking. Repainting is typically required every 7 to 10 years, depending on environment, orientation, cleaning, color, earlier prep and paint quality.
- Match paint to the room. Use a humidity-resistant formula in bathrooms and a paint rated for exterior use outdoors.
If your bathroom has weak water flow as well as steamy walls, our guide on fixing low water pressure in a shower covers the plumbing side.
When to call a professional
Stop and bring in help when:
- The paint tests positive for lead, or the home predates 1978 and you cannot test it.
- The wall stays damp after you have fixed the apparent source.
- You find mold, black spots across large areas, or soft, crumbling plaster or wood.
- Peeling is on a ceiling below a bathroom or roof and you cannot trace the leak.
- The peeling covers most of an exterior wall or a high area you cannot reach safely.
Who to call depends on the cause: a plumber for a leaking pipe, a roofer for roof or flashing leaks, a lead-certified renovator for lead paint, and a painter or general contractor for large exterior jobs.
Get more practical fixes from Fix It Daily
Peeling paint is often one symptom of another household problem. Fix It Daily publishes plain-English, step-by-step guides on plumbing, electrical and everyday repairs, with clear safety notes and advice on when to stop and call a pro. Browse the full collection on the Fix It Daily homepage and find the next fix on your list.

If a leak is behind your paint problem, start with our guide to what to do about a leaking water heater.
FAQ
Can I repaint over peeling paint?
No. Painting over loose paint leads to poor adhesion and more peeling, so scrape and sand away everything that lifts first. Paint that passes the tape test can stay. Prime any bare spots before the topcoat.
What causes paint to peel?
The most common cause is moisture getting behind the paint from leaks, uncaulked joints, humidity or poor ventilation. Dirty, glossy or chalky surfaces, thick coats, low-quality paint and incompatible paint types also cause it. Look at the pattern of peeling to narrow it down.
Is peeling paint covered under warranty?
It depends on the paint maker’s warranty terms, which typically require the manufacturer’s directions for prep and application to have been followed. Read the warranty on your can or the maker’s website, and keep your receipts and photos. A moisture problem in the wall is unlikely to be treated as a product defect.
What can I put on top of paint so it doesn’t peel?
Nothing on top will stop it. What matters is what goes underneath: a clean, dull, dry surface and the right primer. Then use paint suited to the room, such as humidity-resistant paint in bathrooms, and apply it in thin coats.
How do I know if peeling paint is a sign of damp?
Look for a musty smell, black spots, discolored patches and peeling that concentrates on one wall, in a corner or by a window. A moisture meter reading above 20% calls for further investigation. If the wall stays damp after you fix the source, bring in a pro.
Sources
- Preservation Briefs 10: Exterior Paint Problems on Historic Woodwork (National Park Service)
- NCR-133 (Purdue Extension)
- Why Your Wall Paint Is Peeling and How to Fix It (Martha Stewart)
- How to fix peeling paint on wood and walls (Homebuilding)
- Peeling (Sherwin-Williams)
- How to Fix and Repair Paint Flaking (Sherwin-Williams)
- How to Paint Prep (Sherwin-Williams)
- Peeling Problem Solver (Rodda-Miller Paint)
- How to Solve Paint Problems (Dunn-Edwards)
- How to Repair Peeling Paint (Behr)
- Step-by-Step Guide to Fix Peeling Paint (Lowe’s)
- Removing paint coatings bulletin (BU633)
- Protect Your Family from Lead in Your Home booklet (EPA)
- Lead Test Kits (EPA)